Just thought i'd get an early post in there for ya'll about the upcoming Maleny Wood Expo.
There's quite a few really great things going on at the expo from live demonstrations, experts giving advice, furniture makes and general wood workers with bad ass skillz through to good food, music and coffee. two of the really big draw cards for us going is the sustainable lifestyle choices, musical instrument makers and the furniture makers on exhibit.
I expect to be taking loads of pictures and talking with as many experts as I possibly can. I'm so excited, I just can't hide it [tottles off singing to himself]
http://www.malenywoodexpo.com.au/woodexpo/
Wednesday, 14 April 2010
Saturday, 10 April 2010
The King Bed - stage 2 : head board construction (day 3)
Ok, this is going to be a really short blog entry as I'm pretty much physically ruined. The construction of the headboard has really taken it out of me today. The total weight I would put in the vicinity of about 70-80kgs.
The main boards have been cut to size and rebates run where required so in theory one would think there wasn't much to do in order to complete the head board, well you'd be wrong. The wood hadn't yet been grinded so that was the first task for the day after the obligatory trip to Bunnings this morning. See the thing is I broke my first power tool last weekend and desperately needed a new power drill as somehow I managed to snap the head bolt clean off the drill. No hardware store has a M5 reverse thread bolt and I won't be able to do much about that until I contact the manufacturer.
With my new drill in hand I was able to secure the floor boards to a couple of strips of pine stud. This made it a lot more rigid than the temp ply bracing that I had in place. Ok, so we've still only got the grinding of the posts left hey? Well, this is where my day went from ok to filthy dirty and extremely painful. I spent the next 3 hours grinding the 3 posts with a wire brush. By the end of it I had cramps in my hands, back and I was getting pretty light headed. It was worth it though as the wood has turned out AWESOME. The grinding however did leave a huge amount of dirt and dust, both on me and the ground. By the time I'd swept it all into a nice little pile I was looking about about 4ltrs worth (volume wise).
Now that the posts had been hit with the grinder it was time to bolt things together. Sporting a nice new keyless chuck hand drill I set to work in drilling all the pilot holes for the coach screws. An hour later (yeah yeah I'm pretty nackered by the stage) I had it all together, just in time for the whifey to view upon her return from her walk to the shops.
Having received the heart foundation tick of approval from the whifey I set about dismantling everything and moving it all upstairs into the bedroom - piece by piece this happened slowly. My only problem was that I had to move the bed out of the way on my own in order to reconstruct the bed head. Pain, oh the pain. I am pleased though as I eventually got it all bolted together and it looks a million bucks. I think the next project will be to work on the side tables to bring them into alignment with the style of the bed.
As always, here's some eye candy for ya'll. Keep in mind though that it all still needs to be waxed and apologies for the typos in this post.

[comparison between raw and grinded]

[close up of cleaned and grinded post]

[comparison between raw and grinded]

[top post and bolt detail]

[lower corner detail]

[finished head board prior to moving it upstairs]

[final corner detail]

[front shot detail]

[full shot showing final product]
Monday, 5 April 2010
The King Bed - stage 2 : base construction (day 2)
So here we are at the end of the easter weekend, celebrating the resurrection of Jesus and what better way to cap off a great weekend than to spend the whole day in the workshop. Sunday was a write-off in terms of actually getting anything done on the bed as we had much to do around the house and a family BBQ, followed by church and then dinner and cards with parents in-law. Ok, you get the idea - it was a busy day. I'm waffling so I should probably get back on track.
I usually get caught up with wanting to rush through things and get to the end goal but cutting corners which ultimately gets me into trouble with stuff not lining up properly and being horribly out of square. I wasn't prepared to do that this time for a few reasons: firstly, my blog. you lot wouldn't let me live it down if I ended up with a dodgy bed. secondly, this will be our bed for many many many years to come and I wanted to ensure that it was rock solid.
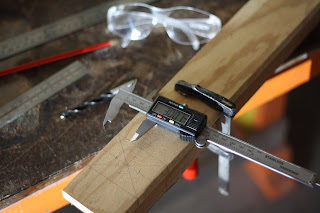
to make sure everything was square and accurate I made a drilling template and used a numbers of corner clamps throughout the process. The drilling template meant that I could quickly clamp the template to the braces and run the drill press through it all. I also used a spur point drill bit to help keep the drill head move through material at an even rate and straight. I did spend a bit of time on making sure the template was accurate but the time savings came back when I started the drilling. The template combined with the drill press made life so much easier in that I had all holes drilled in a matter of minutes.


It's about now that I begin to lay everything out on the floor and prepare for the final bolting. Using a couple of corner clamps I got everything square (measured hypotenuse twice also in both directions) and hammered in a couple of braces to hold everything in place. I was worried about the squareness of the mitered ends of the main frame though as they didn't quote line up initially. Once it was all bolted together with coach screws though it became nice and snug and square.


With the legs in place I gave the frame a good testing by physically getting on top of it and jumping around. I'm pleased to say that this thing is rock solid and has ZERO movement in the joints. However, I was disappointed with the lack of strength of the central beam. I had to rebate out enough material so that the slats could sit across it. This was the direct cause of the lack of strength. The first thing I did was attempt to screw the cut out waste wood to the base of the support but I gave up on this idea after breaking 3 drill bits and 4 screws. Using the hand drill in the hardwood wasn't working out so well for me - a skill that I'm going to have to work on. The alternate solution was to use some more waste wood and create a vertical support that is directly centered to everything. Being that the bed is of a rough design I went with a setup that I saw yesterday while at a local picnic area. They had used a similar technique on the uprights around a gazebo, both stylish and functional. It's worked out ok for me this time but in future if I do it again I'll make allowances in the design and BOM (bill of materials).

Slats, oh man what to do here? I went to bunnings the other day and had a chat to this really nice guy about all sorts of things and picked his brain about what to use. He suggested that I use pine stud (70x35) as its not only cheap ($2.06 per meter) but easy to work with and will last a lifetime. I had planned for a lot more slats than what I ended up using though, so I've got a bunch of left over wood. Not a bad thing but I will monitor the bed to see how it works out and add more slats if required.


Before continuing I got out the old antique hand planes that I was given and gave all edges of the bed including feet the once over. I ran a 45 degree around everything to prevent splinters and fabric catching. The other thing that this does is prevent the wood from chipping and splintering as it is moved around, which is inevitable for cleaning. You can see the shavings in the picture above, mmmm the smell of the wood is so lovely. I've kept a bucket of off-cuts and shavings and am thinking of making some sort of bowl display with it - for the smell and the look. That is of course if I can get that past my wife :)
With the frame together I began working on the bed head. Unfortunately I only have photos of the main posts that will house the floor boards. As you can see below I've made some really nice channels in the posts. I'm beginning to get the hang of cutting channels like this with a circular saw. Traditionally something like this would be done with a dado blade but I don't have one and I've be a little hesitant to use one on a hand held circular saw.
I did get floor board insert pieced together and held in place with some rough waste stock. I'll need to nail it all down to some stud next weekend before I can mount it inside the main posts. It's really looking good and the final bed base has been moved inside and we'll get to see if we can have a solid nights sleep on it without it falling apart. Yes, i do need to grind the legs and wax everything but I'll do that another weekend (one leg at a time). For now though I want to sleep on it and begin thinking about the storage compartments underneath. Enjoy the photo's. (by the way, if you can help me identify the woods that would be greatly appreciated)


I usually get caught up with wanting to rush through things and get to the end goal but cutting corners which ultimately gets me into trouble with stuff not lining up properly and being horribly out of square. I wasn't prepared to do that this time for a few reasons: firstly, my blog. you lot wouldn't let me live it down if I ended up with a dodgy bed. secondly, this will be our bed for many many many years to come and I wanted to ensure that it was rock solid.
to make sure everything was square and accurate I made a drilling template and used a numbers of corner clamps throughout the process. The drilling template meant that I could quickly clamp the template to the braces and run the drill press through it all. I also used a spur point drill bit to help keep the drill head move through material at an even rate and straight. I did spend a bit of time on making sure the template was accurate but the time savings came back when I started the drilling. The template combined with the drill press made life so much easier in that I had all holes drilled in a matter of minutes.
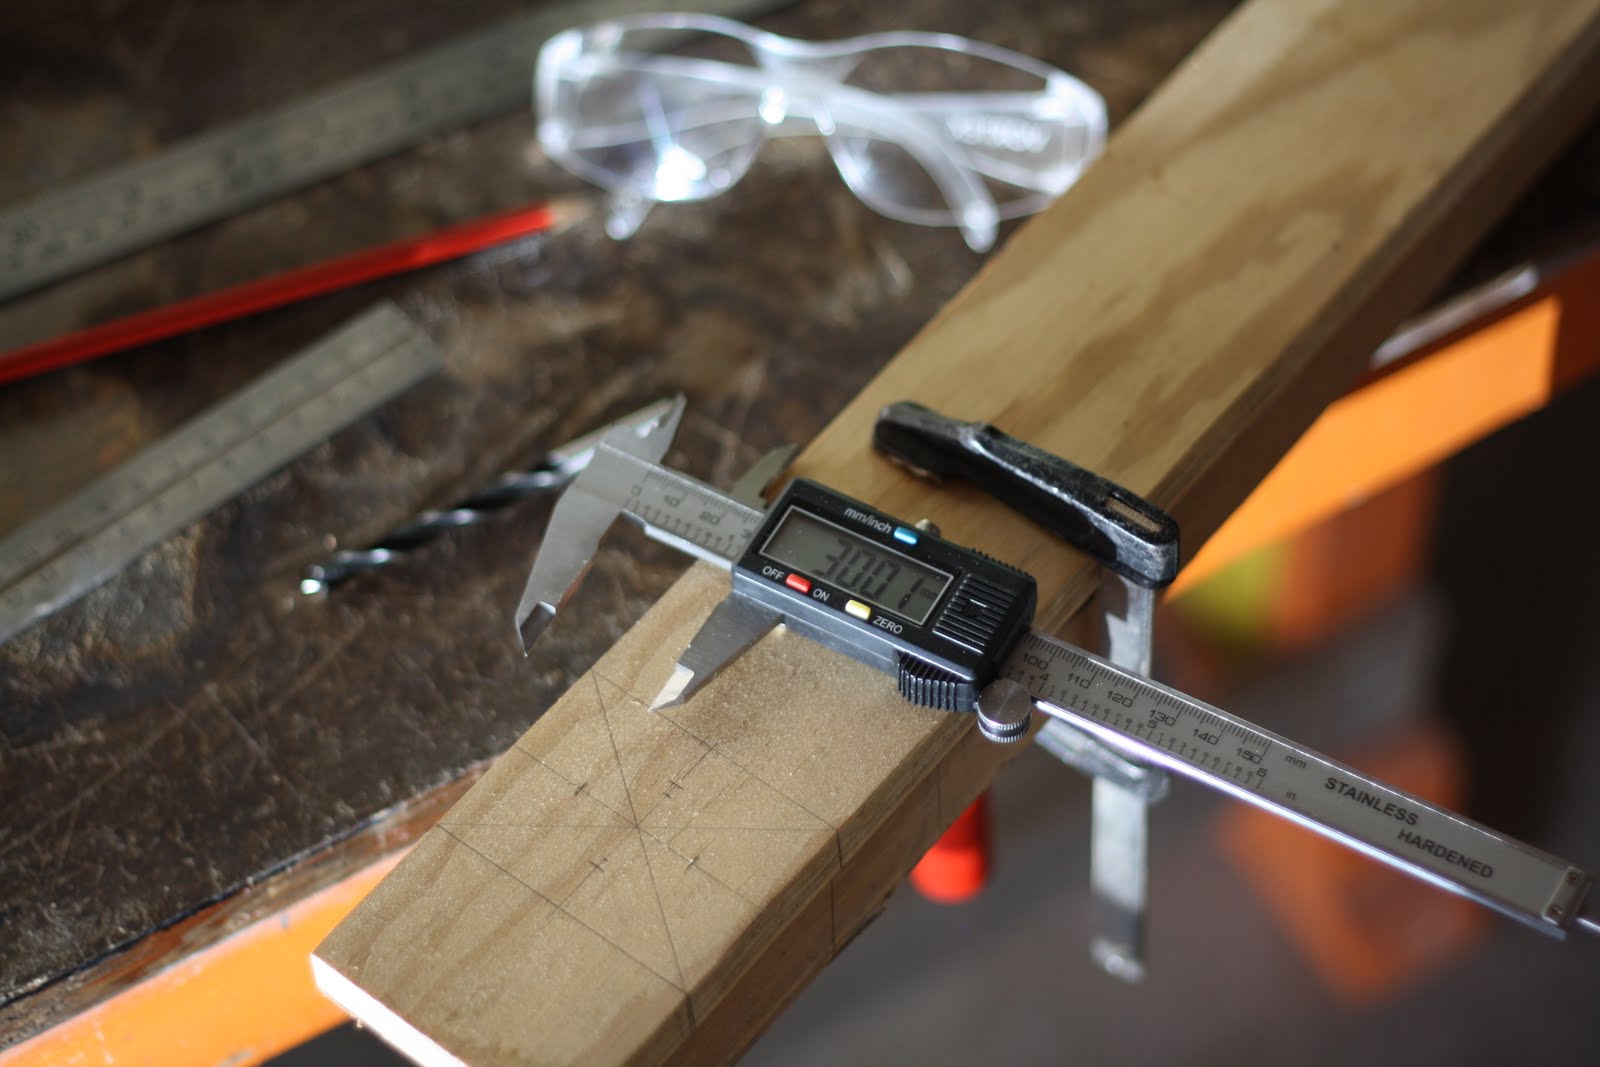
[use I did use vernier calipers to help make the template]


[I love my new drill press, thanks JSA]

[The bench setup]

[making sure each piece is level to ensure square drilling]

[The outer frame resting on stud while I squared it all up]

[legs bolted on - ROCK SOLID]

[Central brace - not quite as I had wanted. you can also see the rebate waste stuck on the bottom of the main beam. what screws did go in and break have held enough to keep it there]

[ slats are in, slug fit]

[yup, they all sit very flush with the frame. I surprised myself]
Before continuing I got out the old antique hand planes that I was given and gave all edges of the bed including feet the once over. I ran a 45 degree around everything to prevent splinters and fabric catching. The other thing that this does is prevent the wood from chipping and splintering as it is moved around, which is inevitable for cleaning. You can see the shavings in the picture above, mmmm the smell of the wood is so lovely. I've kept a bucket of off-cuts and shavings and am thinking of making some sort of bowl display with it - for the smell and the look. That is of course if I can get that past my wife :)
With the frame together I began working on the bed head. Unfortunately I only have photos of the main posts that will house the floor boards. As you can see below I've made some really nice channels in the posts. I'm beginning to get the hang of cutting channels like this with a circular saw. Traditionally something like this would be done with a dado blade but I don't have one and I've be a little hesitant to use one on a hand held circular saw.
I did get floor board insert pieced together and held in place with some rough waste stock. I'll need to nail it all down to some stud next weekend before I can mount it inside the main posts. It's really looking good and the final bed base has been moved inside and we'll get to see if we can have a solid nights sleep on it without it falling apart. Yes, i do need to grind the legs and wax everything but I'll do that another weekend (one leg at a time). For now though I want to sleep on it and begin thinking about the storage compartments underneath. Enjoy the photo's. (by the way, if you can help me identify the woods that would be greatly appreciated)

[post channel, end detail]

[channel finishing detail]

[completed bed - ignore the side tables they're ugly]

[bed - end detail]

[bed - profile]
Saturday, 3 April 2010
The King Bed - stage 2 : base construction (day 1)
It easter, Yay a long weekend! Should be plenty of time to get things sorted and moving forward on a couple of projects. For me working in the workshop is my time to get away and chill out with God. With easter being a time to remember what Jesus did for us on the Cross - I'm getting loads of God time and plenty of opportunity to reflect.
I spent good Friday organsing the workshop and cleaning everything up nice and neat. I was receiving complaints about the car not being able to come inside at night so I've rearranged things to make sure that can happen. Since cleaning everything I've drawn up rough plans on the new workbench area I want to make, along with an allowance for the 3 axis CNC I'll be building soon (more on that another time).


I spent good Friday organsing the workshop and cleaning everything up nice and neat. I was receiving complaints about the car not being able to come inside at night so I've rearranged things to make sure that can happen. Since cleaning everything I've drawn up rough plans on the new workbench area I want to make, along with an allowance for the 3 axis CNC I'll be building soon (more on that another time).

[the clean and organised workshop]

[the proposed workshops layout including CNC location]

[everyone needs a shop dog]
With the workshop all clean and organised I decided to call it quits for the day and get ready to go visit some friends for a BBQ. The next morning (today) saw a sleepy start to the day followed by a trip to bunnings to get 40 meters of pine stud. Met a really interesting guy there that was into furniture making also and we got talking about wood CNC and various other things. A wealth of knowledge that I'll have to remember next time I'm there. It surprises me all the time how freely people give away information when you get chatting to them. I explain what it is I'm doing, mention my blog and voila! Instant tips, advice and all sorts of golden nuggets - including discounts. It amazing how much I keep getting blessed throughout this process.
In order to make sure each of the 4 legs were cut identically I set up a temporary jig on the saw horses. The idea being that the jig would hold all of the legs in place while I used the circular saw to cut out the notches for the main braces. The jig worked a treat, the only thing that was a little annoying was the legs not being cut square the first time around at the Big Red Shed.
Using the jig I made multiple passes with the circular to make 'fins' in the wood. Then with a simple tap of the hammer these snap off to reveal a surface that is traditionally cleaned up with chisels. Given that I already had the circular saw out I decided to use it to clean the surface. Totally not what the tool is designed to do but it worked, WELL!
Everything aside from the slats are now cut for the main part of the bed base and ready for drilling and bolting. I'll drill and dry fit tomorrow before heading out to a family BBQ and save the dressing and final assembly for monday. As usual here are a bunch of pictures to wet your appetite.

[the jig hold everything in place]

[lovely hardwood fins]

[more lovely hardwood fins]

[the first made and cleaned up]

[snug fit for the main brace]

[all four finished legs]

[dry fit of the parts on the shop floor]
Subscribe to:
Posts (Atom)