I usually get caught up with wanting to rush through things and get to the end goal but cutting corners which ultimately gets me into trouble with stuff not lining up properly and being horribly out of square. I wasn't prepared to do that this time for a few reasons: firstly, my blog. you lot wouldn't let me live it down if I ended up with a dodgy bed. secondly, this will be our bed for many many many years to come and I wanted to ensure that it was rock solid.
to make sure everything was square and accurate I made a drilling template and used a numbers of corner clamps throughout the process. The drilling template meant that I could quickly clamp the template to the braces and run the drill press through it all. I also used a spur point drill bit to help keep the drill head move through material at an even rate and straight. I did spend a bit of time on making sure the template was accurate but the time savings came back when I started the drilling. The template combined with the drill press made life so much easier in that I had all holes drilled in a matter of minutes.
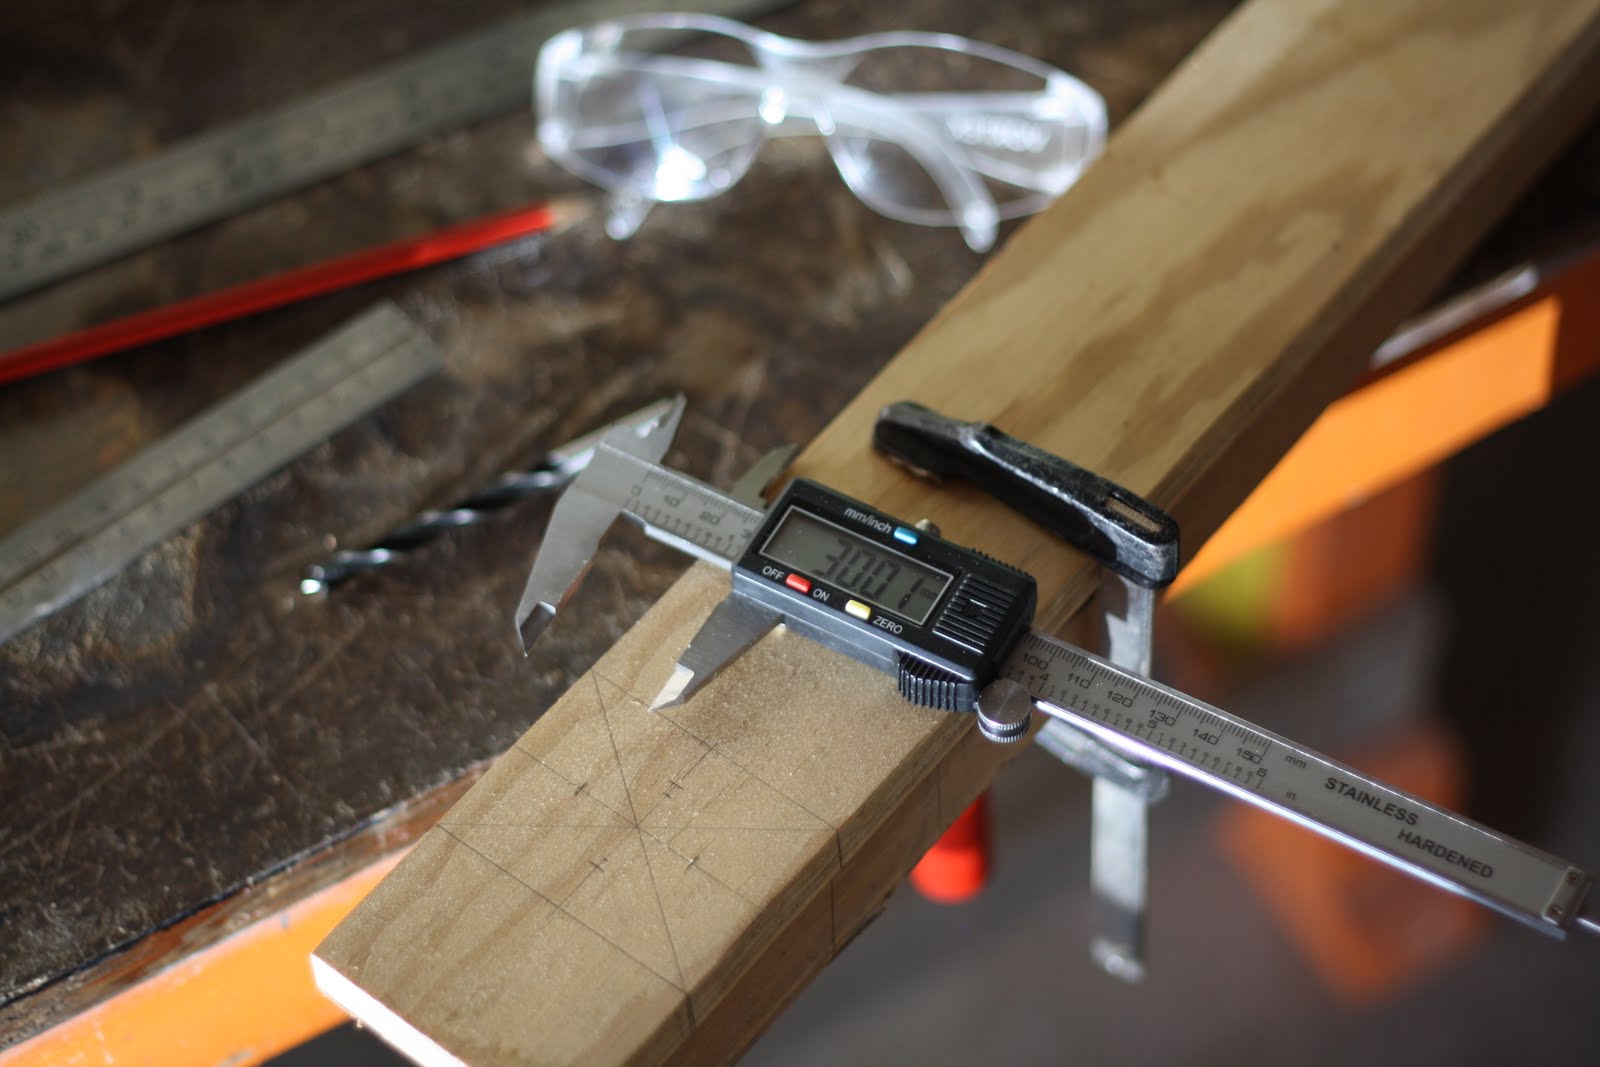
[use I did use vernier calipers to help make the template]


[I love my new drill press, thanks JSA]

[The bench setup]

[making sure each piece is level to ensure square drilling]

[The outer frame resting on stud while I squared it all up]

[legs bolted on - ROCK SOLID]

[Central brace - not quite as I had wanted. you can also see the rebate waste stuck on the bottom of the main beam. what screws did go in and break have held enough to keep it there]

[ slats are in, slug fit]

[yup, they all sit very flush with the frame. I surprised myself]
Before continuing I got out the old antique hand planes that I was given and gave all edges of the bed including feet the once over. I ran a 45 degree around everything to prevent splinters and fabric catching. The other thing that this does is prevent the wood from chipping and splintering as it is moved around, which is inevitable for cleaning. You can see the shavings in the picture above, mmmm the smell of the wood is so lovely. I've kept a bucket of off-cuts and shavings and am thinking of making some sort of bowl display with it - for the smell and the look. That is of course if I can get that past my wife :)
With the frame together I began working on the bed head. Unfortunately I only have photos of the main posts that will house the floor boards. As you can see below I've made some really nice channels in the posts. I'm beginning to get the hang of cutting channels like this with a circular saw. Traditionally something like this would be done with a dado blade but I don't have one and I've be a little hesitant to use one on a hand held circular saw.
I did get floor board insert pieced together and held in place with some rough waste stock. I'll need to nail it all down to some stud next weekend before I can mount it inside the main posts. It's really looking good and the final bed base has been moved inside and we'll get to see if we can have a solid nights sleep on it without it falling apart. Yes, i do need to grind the legs and wax everything but I'll do that another weekend (one leg at a time). For now though I want to sleep on it and begin thinking about the storage compartments underneath. Enjoy the photo's. (by the way, if you can help me identify the woods that would be greatly appreciated)

[post channel, end detail]

[channel finishing detail]

[completed bed - ignore the side tables they're ugly]

[bed - end detail]

[bed - profile]
1 comment:
Wow! What a productive weekend you had!
Great work!
I was quite chuffed that I managed to reputty two of my loungeroom windows... but you've MADE A BED!!
Awesome.
D
Post a Comment